ByteBox: Manual and Download
This page is the manual for ByteBox, my Amstrad CPC 6128 emulator (see the making-of for the story behind it). It covers the command-line options, keyboard shortcuts, console commands and the built-in Z80 monitor, and ends with a short guide to writing and running your own Z80 code on the emulator.
Features
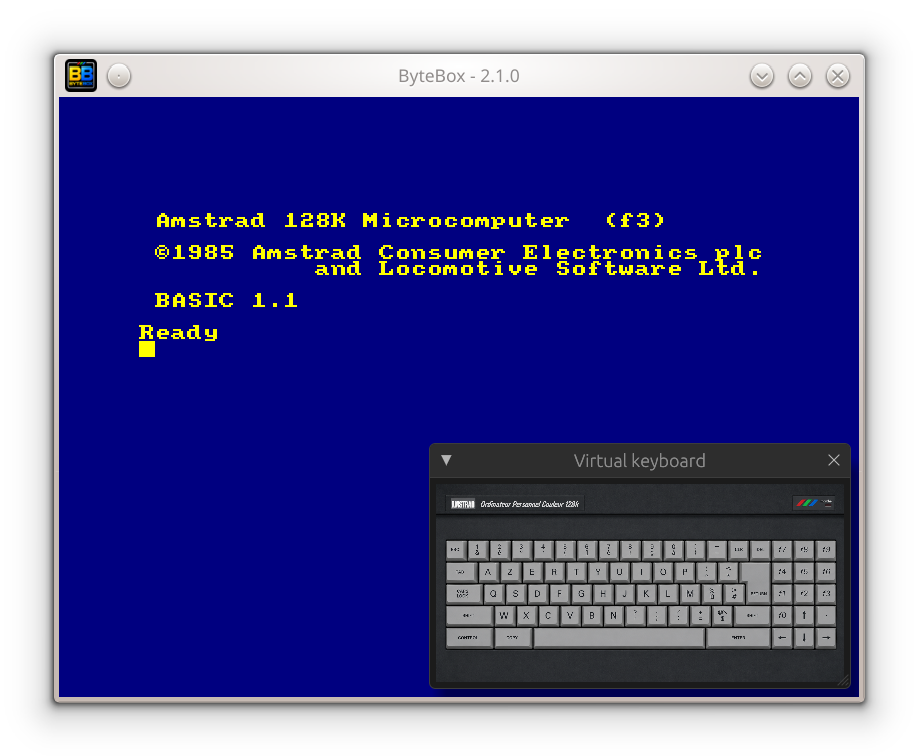
- AZERTY virtual keyboard
- CRT shader (RGB phosphor mask, scanlines)
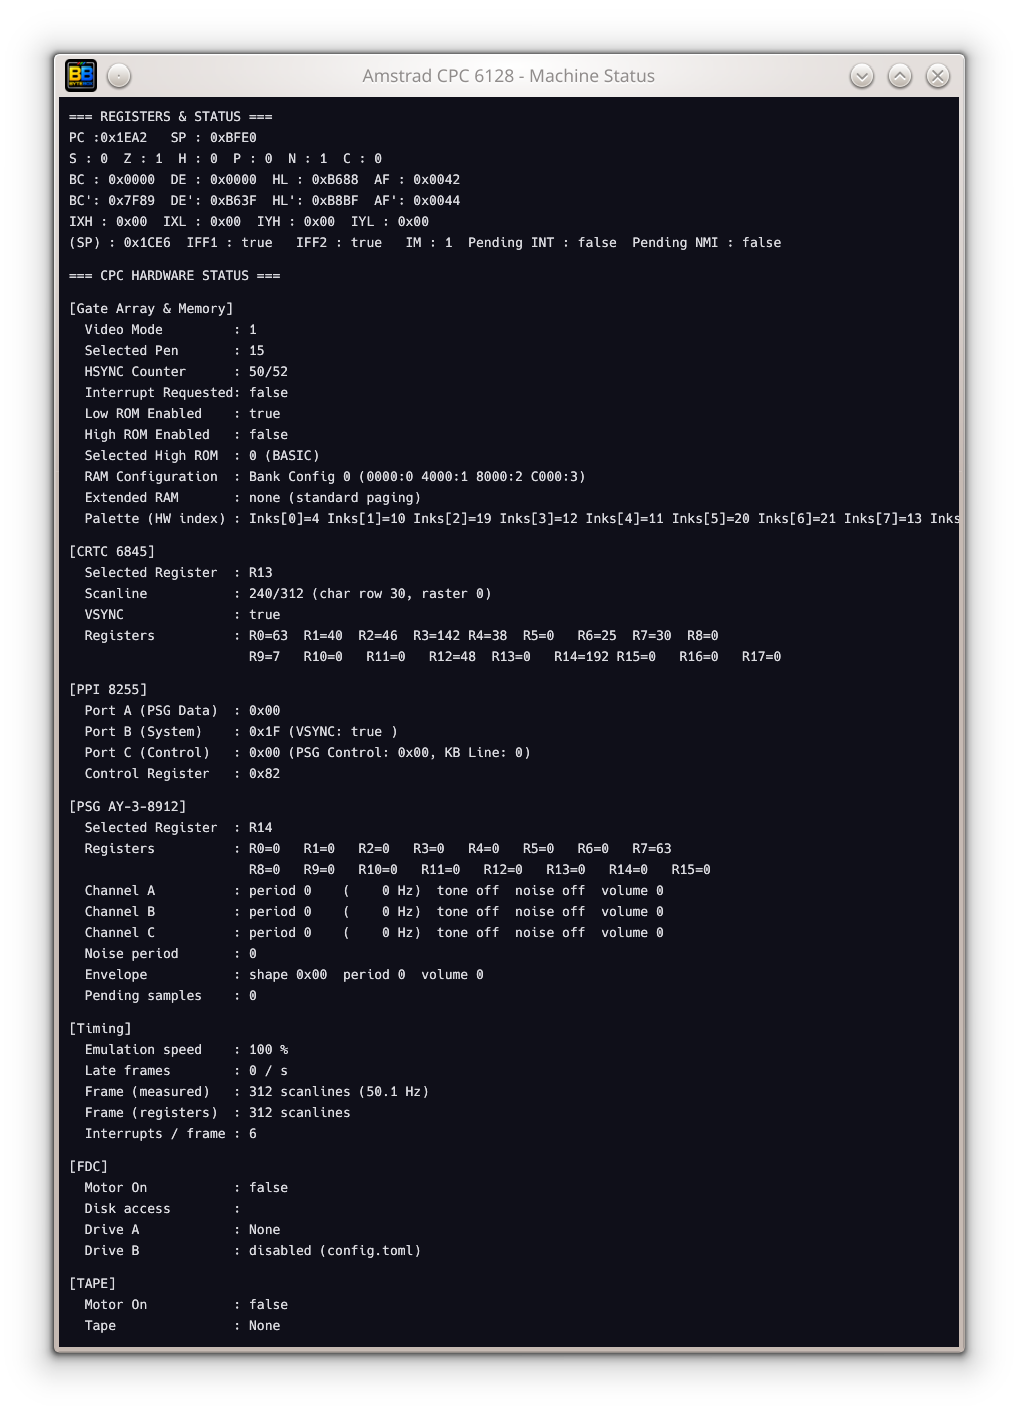
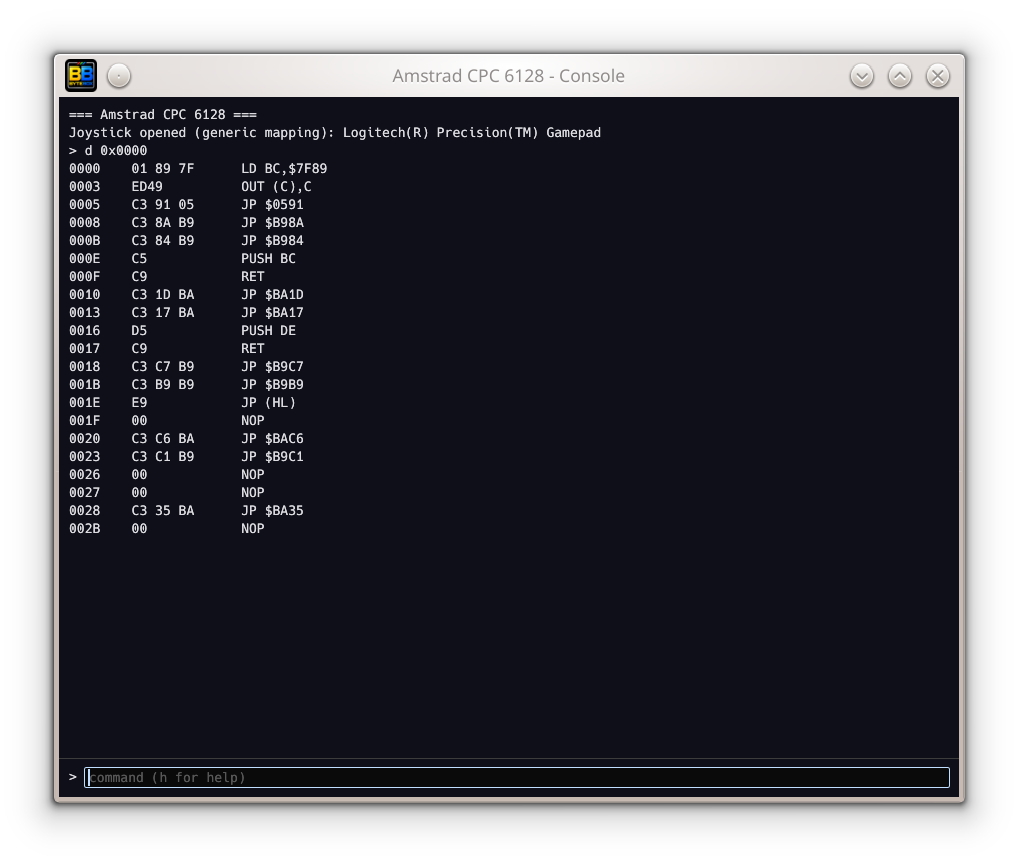
- Built-in Z80 monitor and Machine Status window, for development
- Snapshot (.SNA) support
- Tape drive emulation
By default, subdirectories for images and snapshots are in ~/.bytebox; the config file is in ~/.config/bytebox.
Tape drive
The 6128 has a floppy drive, but the emulator also
reproduces a real datacorder: you can load .cdt
images, and it even reinjects the tape signal into the audio
mix while the motor runs, for the familiar loading whistle.
A power cycle (pc) keeps the tape inserted,
rewound to its start.
At the BASIC prompt, CTRL + the numeric keypad's Enter (not
the main Enter key) types RUN" and validates it
automatically — this is a keyboard expansion token built
into the firmware itself, not an emulator feature. Once a
tape is inserted, just press Enter a second time.
Download
-
macOS (Homebrew):
brew tap nicolasbauw/bytebox
brew install bytebox
Recent Homebrew versions ask you to explicitly trust a third-party tap the first time (it'll print the exact command) — expected, not an error. This builds from source and also installsByteBox.app; see the "Caveats" notebrewprints at the end for the one extra command to add it to/Applications. - Windows: download bytebox-2.1.0-x86_64.msi and run it.
-
Linux (AppImage), any distribution:
download
bytebox-2.1.0-x86_64.AppImage,
then:
chmod +x bytebox-2.1.0-x86_64.AppImage
./bytebox-2.1.0-x86_64.AppImage
Gallery
Command-line options
--diag: additional diagnostics ROM (0F slot)-
--disk=<file>/-d <file>: load a disk image on drive A at startup. A bare filename (no path) is looked up in[file] dsk_pathfromconfig.tomlif it isn't found as given. -
--autocmd=<command>/-a <command>: type a command at the emulated keyboard once BASIC is ready, exactly like Caprice32's own--autocmd. Handy for jumping straight into a game during a debugging session:bytebox --disk=Barbarian.dsk --autocmd='RUN"BARBA.I'
-
--snapshot=<file>/-s <file>: resume from a.SNAsnapshot instead of booting. A bare filename is looked up in~/.bytebox/SNA(or[file] sna_pathfromconfig.toml), the same directory thesnapconsole command writes to. Mostly for Z80 development: RASM can assemble straight to a ready-to-run snapshot, so there's no disk image to build between two attempts:rasm demo.asm -oi demo.sna -v2 && bytebox --snapshot=demo.sna
Function keys
F1 / F2 / F3   window size x1 / x2 / x3
F4             toggle fullscreen
F5             toggle the CRT shader (RGB phosphor mask, scanlines)
F6             toggle the configuration/media panel (disks, tape,
               drive B, extra RAM, zoom, volume, CRT shader tuning,
               ROM installation — all with an immediate effect, no
               restart needed)
F7             toggle the virtual keyboard (clickable, overlaid on the
               emulator window)
F8             step to next Z80 instruction
F9             step to next video line
F10            toggle the quick command bar (one input line, overlaid
               on the emulator window)
F11            toggle the full console window (scrollable history,
               same commands as the quick command bar) — on macOS,
               Cmd+Shift+C does the same thing, since F11 is claimed
               system-wide by "Show Desktop" before it ever reaches
               the app
F12            toggle the machine status window
Emulator commands
disk d.dsk          Loads the d.dsk disk image on drive A
disk d.dsk b        Loads the d.dsk disk image on drive B (if enabled in config.toml)
disk eject          Ejects the disk image from drive A
disk eject b        Ejects the disk image from drive B
blank d.dsk         Creates a blank formatted disk image and inserts it in drive A
blank d.dsk b       Creates a blank formatted disk image and inserts it in drive B
tape f.cdt          Loads the f.cdt tape image into the tape reader
tape eject          Ejects the tape image
snap f.sna          Saves a .SNA snapshot (readable by other CPC emulators)
pc                  Performs a power cycle
vol                 Displays the audio output volume
vol 30              Sets the audio output volume to 30 %
driveb on           Enables drive B, with immediate effect (unlike
                    config.toml's [drives] drive_b, which only
                    applies at startup)
driveb off          Disables drive B
ram 16              Sets extra RAM banks to 16 (applied at the next
                    power cycle, "pc" — RAM is sized at construction)
tapevol 10          Sets the tape signal level in the audio mix to 10 %
diag on             Enables the Diagnostic ROM at slot 0F (applied at
                    the next power cycle, "pc")
diag off            Disables it
All of the above are also available from the configuration/media panel (F6) as clickable fields, with a native file picker for disk and tape images — no need to type a path.
Emulator monitor commands
d 0x0000          disassembles code at 0x0000 and the 20 next
                  instructions
m 0xeeee          displays memory content at address 0xeeee
m 0xeeee 0xaa     sets memory address 0xeeee to the 0xaa value
mr 0x1000         dumps 256 raw RAM bytes from 0x1000, ignoring any ROM
mr 0x1000 0x1100  dumps the raw RAM range 0x1000..0x1100
s 0xaa            searches for a byte in memory
n                 steps to next Z80 instruction
l                 steps to next video line
j 0x0000          jumps to 0x0000 address
b                 displays set breakpoints
b 0x0002          sets a breakpoint at address 0x0002
f 0x0002          "frees" (deletes) breakpoint at address 0x0002
w                 displays set watchpoints
w 0xeeee          adds a write watchpoint at address 0xeeee
fw 0xeeee         removes watchpoint at address 0xeeee
p                 pause execution
g                 resume execution after the "p" command, or a breakpoint,
                  has been used to halt execution
hw                displays Gate Array and CRTC status
hw kb             keyboard test
r                 displays the contents of flags, registers and interrupts
t                 displays trace status
t on              records every executed instruction in a ring buffer
t calls           records only jumps, calls and returns (far longer reach)
t off             stops recording, keeping what has been captured
t dump 100        displays the last 100 recorded instructions
t save f.txt      writes the whole buffer to a file
Machine status window
A concrete example of combined usage:
- launch the emulator.
- open the machine status window alongside it using F12.
-
enter a breakpoint command in the quick command bar or
the full console (e.g.,
b 0x0038for the interrupt) using F10 or F11. - As soon as the breakpoint is hit, the emulator freezes, and the debug window displays the full machine state.
- press F8 several times: you see the disassembly print out in the console, and all register values (PC, SP, A, B, C...) update in the debug window.
- press F9: the emulator skips ahead by one video line, and you watch the HSYNC Counter and current_line update in real-time on the debugger screen.
Writing Z80 code for the CPC
If you're developing for the CPC rather than just
running software on it, snapshots give you an
edit-assemble-run loop with no disk image in the way.
RASM
assembles straight into a ready-to-run
.SNA — RAM laid out and entry point already set
— which ByteBox resumes directly:
Here's a complete, working example to copy-paste. Save it as demo.asm:
    BUILDSNA            ; emit a snapshot, not a cartridge
    BANK 0              ; without this, nothing is written to memory
    ORG  #4000
    RUN  #4000          ; where execution starts

start
    ld   bc, #7F10      ; select the border
    out  (c), c
    ld   bc, #7F4C      ; ink 12: bright red
    out  (c), c
loop
    jr   loop           ; stay here
Then assemble it and run it:
rasm demo.asm -oi demo.sna -v2 && bytebox --snapshot=demo.sna
You should get a bright red border around a blue screen.
-oi names the snapshot RASM writes;
-v2 picks the format ByteBox reads — see the
notes below, both matter more than they look.
The whole cycle is a single command away, so re-running after an edit costs nothing — which is the point.
A few things worth knowing:
-
Use
-v2. RASM defaults to version 3 snapshots, which store memory in compressedMEM0-MEM8chunks (the RAM size field is left at zero). ByteBox refuses those outright rather than loading a machine with blank memory. Version 2 writes a plain memory dump and loads fine.BUILDSNA V2in the source does the same as-v2. -
Don't forget
BANK 0. Without it RASM assembles your code but writes nothing into the snapshot's memory, and says so only through aWarning: No byte were written in snapshot memory— no file is produced at all. -
Where snapshots live. A bare filename is looked up
in
~/.bytebox/SNA(override with[file] sna_pathinconfig.toml), the same directory thesnapconsole command writes to. A name containing a path is used as-is, so--snapshot=./demo.snaworks from a build directory. -
Snapshots go both ways.
snap f.snafrom the console (F10/F11) captures the current state,snapload f.snarestores it. Handy to park a hard-to-reach state — a level, a crash, a specific interrupt moment — and come back to it, in ByteBox or in another emulator. - The debugger is right there. Since a snapshot restores registers, RAM and hardware state exactly, F12 (machine status), breakpoints and single-stepping (F8) all work from the moment it loads.